If you're anything like us, your love for ginger transcends mere seasoning; it's a profound appreciation for its vibrant flavor, aromatic spice, and impressive health benefits. While crispy fried ginger is a delightful garnish, the thought of deep-frying at home can be daunting, messy, and less aligned with a healthy lifestyle. What if we told you there's a simpler, healthier, and equally delicious way to enjoy that satisfying crunch? Prepare to embark on a culinary adventure as we unveil the secrets of how to make crispy ginger chips without a drop of hot oil, leveraging the gentle heat of your oven or the consistent performance of a food dehydrator.
These no-fry crispy ginger chips are not just a snack; they're a revelation. Imagine delicate, translucent slices of ginger, infused with natural sweetness or a subtle kick, dried to a perfect crisp. They're ideal for guilt-free snacking straight from the jar, adding an unexpected crunch to your favorite dishes, or even as an elegant, edible decoration. Forget store-bought alternatives laden with unknown ingredients; making your own puts you in complete control, ensuring a pure, wholesome, and incredibly satisfying treat.
Why Embrace No-Fry Crispy Ginger Chips?
The allure of crispy ginger is undeniable, but the traditional method often involves deep-frying, which can diminish some of ginger's delicate compounds and add unnecessary fats. Our no-fry approach offers a multitude of benefits, transforming ginger into a versatile culinary gem:
- Health-Conscious Choice: By eschewing hot oil, these chips retain more of ginger's inherent goodness. Ginger is renowned for its powerful anti-inflammatory and antioxidant properties, its ability to aid digestion, and its soothing effect on nausea. Drying at low temperatures helps preserve these vital nutrients, making them a truly nourishing snack.
- Unleash Natural Flavors: Without the interference of heavy oils, ginger's natural pungency and subtle sweetness shine through. When enhanced with optional natural sweeteners like honey or a whisper of spice, the resulting flavor profile is complex and deeply satisfying.
- Incredible Versatility: These aren't just for snacking. Sprinkle them over oatmeal, yogurt, or ice cream for a gourmet touch. Add them to savory dishes like stir-fries, curries, or roasted vegetables for an unexpected textural and flavor boost. They can even be crushed into a flavorful powder to elevate spice blends.
- Extended Shelf Life: Properly dried ginger chips can be stored for weeks, if not months, in an airtight container, making them an excellent meal prep item or a readily available ingredient for last-minute culinary inspiration.
- Cost-Effective & Customizable: Fresh ginger root is widely available and affordable. Making your own chips is significantly cheaper than purchasing specialty dried snacks. Plus, you have full control over the thickness, crispness, and flavorings, tailoring them exactly to your palate.
Understanding these benefits makes the journey of how to make crispy ginger chips not just a recipe, but an investment in healthier snacking and elevated home cooking.
Essential Tools and Ingredients for Your Ginger Chip Journey
Crafting these delectable ginger chips requires minimal ingredients and just a few key pieces of kitchen equipment. The simplicity of the process belies the delicious results!
The Core Ingredients:
- Fresh Ginger Root: This is the star of our show. Look for firm, smooth ginger with taut skin, free from mold or soft spots. The amount you need depends on how many chips you want to make; remember, ginger shrinks significantly during drying. Approximately 1 pound of fresh ginger can yield a generous batch.
- Optional Flavorings:
- Honey: For a naturally sweetened, slightly caramelized flavor.
- Cayenne Pepper: To introduce a gentle warmth and intriguing spice.
- Cinnamon: A fantastic heat-free alternative to cayenne, pairing beautifully with ginger's warmth.
- Salt: A tiny pinch can enhance all other flavors, especially if you're leaning towards a savory profile.
- Other Spices: Don't be afraid to experiment with nutmeg, star anise powder, or even a touch of brown sugar for different flavor dimensions.
The Essential Equipment:
- Mandoline Slicer: While not strictly mandatory, a mandoline is highly recommended. It’s the ultimate tool for achieving consistent, paper-thin slices, which is paramount for even drying and optimal crispness. Safety is key, so always use the guard!
- Vegetable Peeler or Sharp Knife: Excellent alternatives if a mandoline isn't available. A good vegetable peeler can create lovely thin ribbons, and a sharp chef's knife, combined with patience and steady hands, can also yield suitable slices.
- Oven: Most conventional ovens with a low-temperature setting (around 80ºC/176ºF) will work perfectly. The ability to crack the door slightly is a bonus for moisture release.
- Food Dehydrator: For those who regularly preserve food, a dehydrator offers precise temperature control and often more consistent results, especially for larger batches. It's a "set it and forget it" option, making the process effortless.
- Parchment Paper or Silicone Mats: Essential for preventing sticking and easy cleanup if using an oven.
- Dehydrator Trays: If using a dehydrator, these are designed for optimal airflow.
- Spoon: Surprisingly, a simple spoon is the best tool for peeling ginger, navigating its knobby contours with ease and minimal waste.
Mastering the Art of Thin Slicing: The Foundation of Crispy Ginger Chips
The secret to truly crispy, evenly dried ginger chips lies almost entirely in the preparation, specifically the peeling and slicing. This step is where you lay the groundwork for success in how to make crispy ginger chips.
1. The Easy Peasy Peeling Method:
Ginger's irregular shape makes traditional peeling tricky, often leading to wasted ginger. Enter the spoon method:
- Take a sturdy metal spoon and hold it firmly.
- Scrape the edge of the spoon against the ginger skin, moving away from you. The skin will effortlessly peel off, conforming to the ginger's bumps and curves without removing excess flesh.
- Continue until all the skin is removed. Rinse the peeled ginger thoroughly to remove any lingering dirt.
2. The Crucial Slicing Technique:
This is arguably the most important step. Consistency is key – every slice should be as uniform as possible in thickness to ensure they all dry at the same rate. This prevents some chips from burning while others remain chewy.
- Using a Mandoline:
Set your mandoline to its thinnest setting (ideally 1-2mm). Always use the safety guard to protect your fingers. Slowly and steadily slide the peeled ginger across the blade, creating perfectly translucent, uniform rounds or ovals. This method is the fastest and most efficient for achieving consistent results.
- Using a Vegetable Peeler:
Hold the peeled ginger firmly. Press the peeler against the ginger and draw it along the length of the root, creating long, thin ribbons. While these may not be perfectly round chips, they still dry beautifully and offer a unique aesthetic.
- Using a Sharp Knife:
If using a knife, ensure it's very sharp. Place the peeled ginger on a cutting board and slice it crosswise into thin rounds. Aim for paper-thin slices, taking your time and being mindful of your fingers. It requires more precision and patience but is certainly achievable.
Remember, the thinner and more uniform your slices, the faster and more consistently your ginger chips will dry, leading to that ultimate crisp texture.
Step-by-Step: Oven vs. Dehydrator for Perfect Crispy Ginger Chips
Now that your ginger is perfectly prepped, it's time to transform it into those irresistible crispy chips. We'll explore two primary methods, each offering excellent results.
Method 1: Plain Ginger Chips for Post-Seasoning
This method allows you to dry the ginger first and then season it to taste once it's crispy. This is great for those who want a pure ginger flavor or wish to experiment with different seasonings on a single batch.
- Arrange the Slices: Lay the thinly sliced ginger in a single layer on a baking tray lined with parchment paper (for oven) or directly onto your dehydrator trays. Ensure no slices overlap. Overlapping will lead to uneven drying and soft spots.
- Oven Drying Method:
- Preheat your oven to the lowest possible temperature, typically around 80ºC (176ºF).
- Place the baking tray on the lowest rack in the oven. This helps with more even heat distribution.
- Bake for approximately 2 to 2.5 hours. After about 1.5 hours, start checking for dryness.
- Pro Tip: If you notice the edges browning too quickly, or if your oven tends to hold a lot of moisture, crack the oven door open slightly (you can use a wooden spoon to prop it open). This allows moisture to escape, promoting crispness and preventing burning.
- Dehydrator Drying Method:
- Set your dehydrator to 40ºC (104ºF). This lower temperature is ideal for preserving nutrients and achieving a gentle, thorough dry.
- Dehydrate for about 4 to 5 hours. The exact time will vary based on ginger thickness and dehydrator model.
- Check for Doneness: Regardless of the method, the ginger chips are ready when they are completely dry, feel brittle, and snap easily in half. There should be no flexibility or chewiness.
- Post-Seasoning Ideas: Once cooled, you can toss them with a pinch of sea salt, a sprinkle of cinnamon sugar, chili flakes for extra heat, or even a dusting of nutritional yeast for a savory umami kick.
Method 2: Pre-Seasoned Sweet & Spicy Ginger Chips
For those who love a built-in flavor, pre-seasoning infuses the ginger with delicious notes during the drying process. If you're particularly interested in exploring the nuances of creating naturally sweetened crispy ginger chips with detailed oven and dehydrator guidance, we have a dedicated resource for you.
- Prepare the Marinade: In a bowl, gently toss the thinly sliced ginger with a tablespoon or two of honey (or maple syrup for a vegan option) and a small pinch of cayenne pepper (adjust to your heat preference). For a heat-free option, use cinnamon instead of cayenne.
- Arrange and Dry: Lay the seasoned ginger slices in a single layer on parchment-lined baking trays or dehydrator trays, ensuring no overlap.
- Drying Process:
- Follow the same oven or dehydrator instructions as Method 1. Be aware that the honey might add a slight bit more moisture, potentially extending the drying time by a small margin (e.g., 30 minutes to an hour).
- Keep a close eye on them, especially in the oven, as the sugar from the honey can caramelize and potentially burn if left unattended.
- Cool and Enjoy: Once dry and crispy, remove from the heat source and let them cool completely before storing.
Storage and Creative Culinary Uses
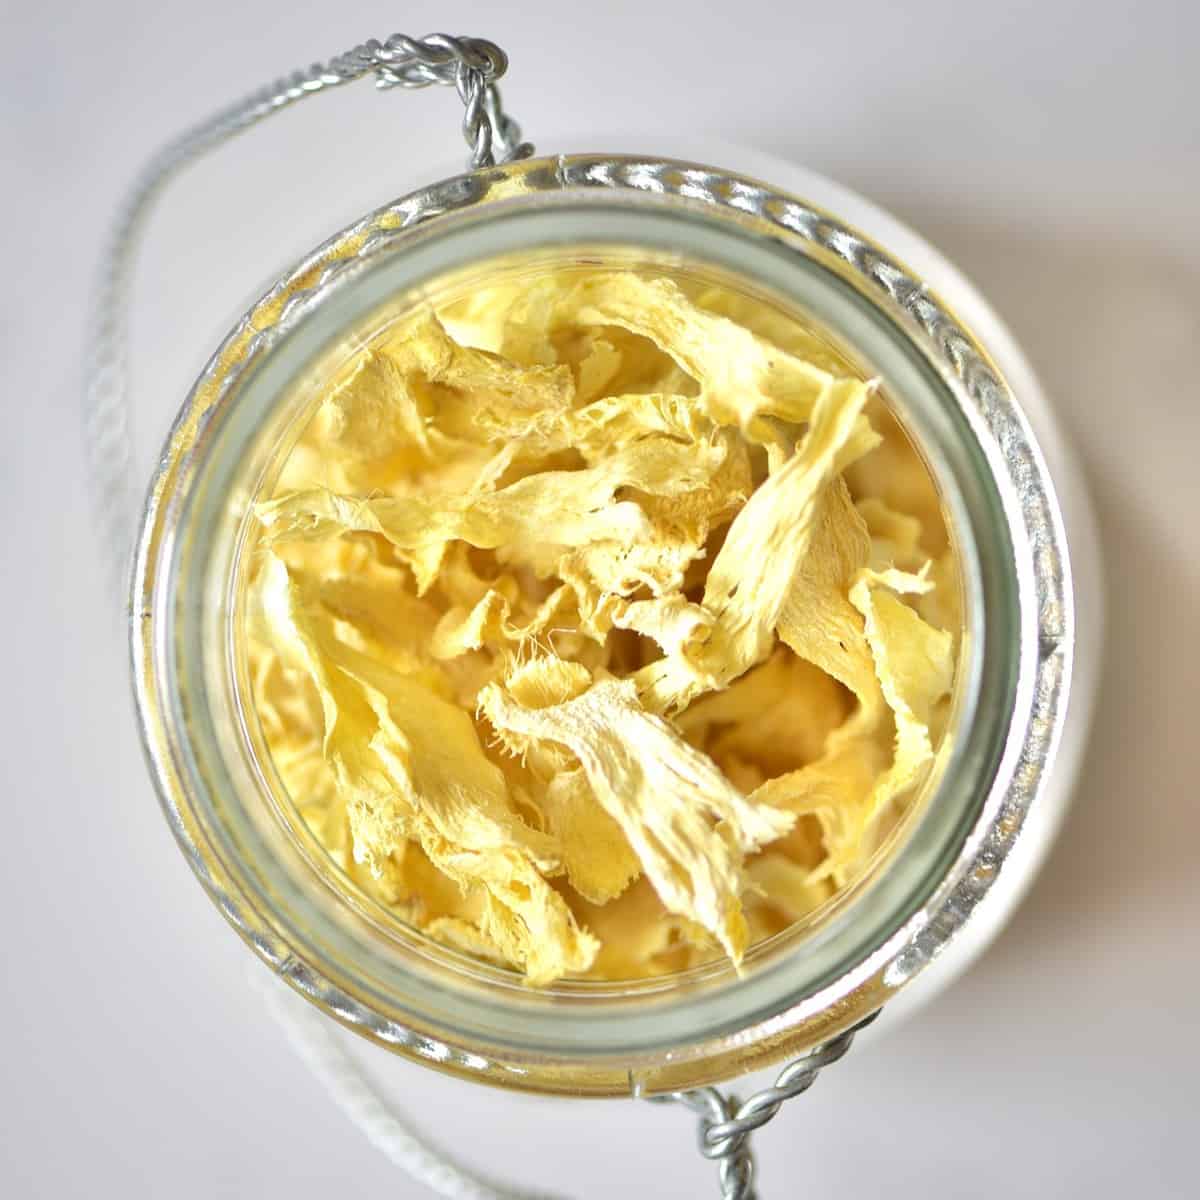
Once your crispy ginger chips are perfectly dried and cooled, proper storage is key to maintaining their crunch and extending their shelf life. Store them in an airtight container at room temperature, away from direct sunlight and humidity. A glass jar with a tight-fitting lid is ideal. Stored correctly, these chips can last for several weeks, if not months.
Beyond snacking straight from the jar, these versatile no-fry ginger chips unlock a world of culinary possibilities. Their unique texture and concentrated flavor make them a fantastic addition to both sweet and savory dishes:
- Elegant Garnish: Sprinkle them over creamy soups (like pumpkin or carrot ginger soup), stir-fries, curries, or even roasted vegetables for a pop of flavor and texture. They're a beautiful contrast on steamed fish or tofu.
- Sweet Treats: Chop them and fold into homemade granola, trail mix, or cookie dough. Use them to adorn cupcakes, cakes, or even a simple bowl of ice cream or fruit salad for a sophisticated touch.
- Beverage Boost: Crush a few chips and add them to hot tea or infuse them in a homemade syrup for cocktails or mocktails.
- Textural Ingredient: Roughly chop them and mix into salad dressings for an unexpected crunch, or incorporate them into breading for chicken or fish.
- Spice Blend Enhancer: Grind dried ginger chips into a fine powder and add it to your homemade spice rubs for meats, poultry, or roasted root vegetables, intensifying the ginger notes.
Beyond snacking, these versatile chips open up a world of culinary possibilities, from garnishes to ingredients – discover more in our guide on DIY Crispy Ginger Chips: Dehydrated Snack or Fried Garnish?
Mastering how to make crispy ginger chips is a rewarding endeavor that brings a healthy, flavorful, and incredibly versatile ingredient to your kitchen. With just a few simple steps, you can transform fresh ginger root into a pantry staple that elevates everyday meals and provides a delightful, guilt-free snack. So go ahead, grab that ginger, and start slicing – your taste buds will thank you!
