If you're a true ginger enthusiast, prepare for your next culinary obsession: homemade, naturally sweetened crispy ginger chips. Forget the store-bought, often sugar-laden snacks or the greasy fried varieties. We're talking about a delightful, wholesome treat that delivers all the pungent warmth and zing of fresh ginger, transformed into a perfectly crunchy chip using either your oven or a food dehydrator. This comprehensive guide will walk you through precisely how to make crispy ginger chips that are not only delicious but also a fantastic, healthy addition to your snack repertoire or a versatile garnish for countless dishes.
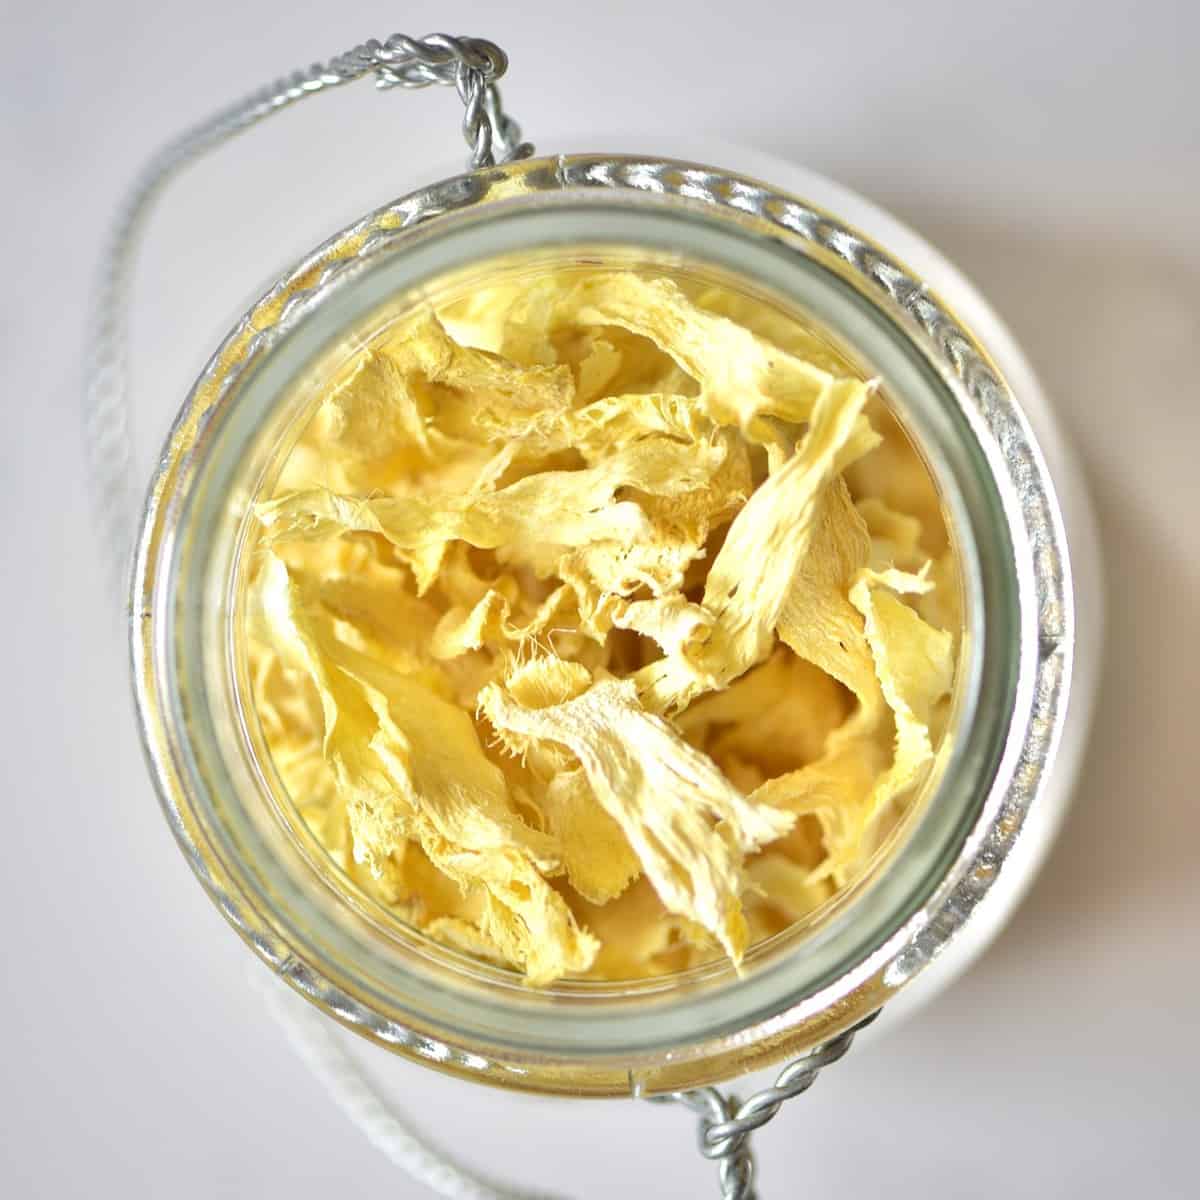
My journey to crafting these crispy ginger delights began with a batch of homemade ground ginger powder. As I pulled the paper-thin, dried ginger slices from the dehydrator, their resemblance to vegetable crisps was uncanny. It sparked an idea: what if these could be seasoned and enjoyed as a standalone snack? The answer, as you're about to discover, is a resounding yes! Flavored subtly with a touch of honey and a hint of cayenne (or cinnamon for a gentler warmth), these chips offer a unique flavor profile that's both comforting and invigorating. Whether you crave a healthier snack, a unique topping for your meals, or an ingredient to elevate your baking, these dried ginger chips are a transformative kitchen staple.
Why Naturally Sweetened Crispy Ginger Chips Are Your New Culinary Secret Weapon
In a world full of processed snacks, finding genuinely wholesome and flavorful options can be a challenge. That's where homemade crispy ginger chips shine. Unlike their fried counterparts, which often involve high heat and abundant oil, our method focuses on low-temperature drying. This gentle process ensures that the ginger's vibrant flavor and nutritional benefits are largely preserved, offering a truly nutritious snack option. You get all the health-boosting properties of ginger – its anti-inflammatory, digestive, and antioxidant qualities – in a delightfully crunchy format. This No-Fry Crispy Ginger Chips: Healthy Oven & Dehydrator Recipe is a game-changer for anyone looking to eat well without sacrificing flavor or texture.
The beauty of these chips lies in their remarkable versatility. Imagine sprinkling them over a creamy soup for an unexpected crunch, using them as an aromatic garnish for curries or stir-fries, or even crumbling them into yogurt or granola for a spicy-sweet kick. They also make a stunning, edible decoration for cakes and desserts. Beyond direct consumption, these dried slices are also the ideal precursor for making your own potent ground ginger powder, ensuring peak freshness and flavor in all your culinary creations. The possibilities are truly endless, making them an invaluable ingredient to have on hand.
Essential Tools and Ingredients for Perfect Ginger Chips
The magic of these ginger chips starts with a few simple ingredients and basic kitchen tools. The quality of your fresh ginger and the precision of your slicing will significantly impact the final texture and taste of your chips.
The Star Ingredient: Fresh Ginger Root
- Fresh Ginger: Opt for firm, smooth ginger roots with taut skin. Avoid any that are shriveled, moldy, or have soft spots, as these indicate older or damaged ginger. The fresher the ginger, the more vibrant its flavor and moisture content, which is key for even drying. You'll need as much as you desire – a little goes a long way, but once you start snacking, you might wish you made more!
Essential Slicing Tools
Achieving uniform, paper-thin slices is paramount for crispy ginger chips that dry evenly and quickly. Uneven slices will result in some pieces being burnt while others are still chewy.
- Mandoline Slicer: This is by far the most recommended tool. A mandoline allows you to achieve consistently thin, even slices with minimal effort. This consistency is crucial, especially when drying in an oven, to prevent some chips from burning while others remain soft.
- Vegetable Peeler: Some wide-blade vegetable peelers can be surprisingly effective for creating thin ginger ribbons. While not as uniform as a mandoline, it's a good alternative if you don't have one.
- Sharp Knife: If a mandoline or peeler isn't available, a very sharp knife and excellent knife skills can get the job done. However, be prepared for this to be the most time-consuming and challenging method to achieve the desired thinness.
Flavor Enhancers (Optional but Recommended)
While plain dried ginger is delightful, a touch of seasoning can elevate your chips to gourmet status.
- Honey: Adds a natural sweetness that beautifully complements ginger's spiciness, creating a caramelized flavor as it dries.
- Cayenne Pepper: For those who love an extra kick, a tiny pinch of cayenne amplifies the ginger's natural heat.
- Cinnamon: If you prefer a warmth without the heat, cinnamon is a wonderful, aromatic alternative to cayenne, pairing beautifully with ginger and honey.
- Other ideas: A sprinkle of sea salt, a dash of citrus zest (lemon or orange), or a pinch of allspice could also be experimented with for different flavor profiles.
Your Drying Appliance: Oven or Dehydrator
- Oven: A standard kitchen oven set to its lowest temperature can effectively dry ginger. The key is low heat and potentially cracking the door to allow moisture to escape.
- Food Dehydrator: For consistent, hands-off drying, a food dehydrator is ideal. It maintains a stable low temperature and excellent airflow, leading to perfectly crispy results every time.
Step-by-Step Guide: How to Make Crispy Ginger Chips
Making these delightful chips is a straightforward process, broken down into preparation, optional seasoning, and the crucial drying stage. Here's exactly how to make crispy ginger chips with either an oven or a dehydrator.
Preparation is Key: Peel and Slice
- Peel the Ginger: The easiest way to peel fresh ginger is with a spoon. Scrape the edge of a spoon against the skin, following the contours of the root. This method minimizes waste and is incredibly efficient, especially around knobby areas.
- Slice Thinly and Uniformly: This is perhaps the most critical step. Using a mandoline slicer is highly recommended for achieving consistent, paper-thin slices (ideally 1-2mm thick). If using a vegetable peeler, aim for wide ribbons. With a knife, take your time to ensure all slices are as thin and even as possible. Uneven slices will dry at different rates, potentially leading to some burning or remaining chewy.
Flavoring Your Chips (Optional Pre-Seasoning)
You have two main options here: seasoning before or after drying. Pre-seasoning with honey adds a fantastic caramelization.
- For Pre-Seasoned Chips: In a bowl, gently toss the thinly sliced ginger with a small amount of honey (just enough to lightly coat) and your chosen spice – a pinch of cayenne for heat or cinnamon for warm, sweet notes. Ensure each slice is lightly coated without being drenched. This method yields a deeply flavored, almost candied ginger chip once dried.
- For Plain Chips (Season After Drying): If you prefer to experiment with seasonings later or want to use the ginger as a neutral base for other recipes (like ground ginger), skip the pre-seasoning.
Drying Method 1: The Oven Technique
Drying ginger in the oven is accessible for everyone. The trick is patience and low heat.
- Arrange on Trays: Place the ginger slices (single layer, no overlapping) on a baking sheet lined with parchment paper. This prevents sticking and ensures even airflow.
- Bake at Low Temperature: Preheat your oven to its lowest possible setting, typically around 80ºC (176ºF). Place the baking tray on the lowest rack for more even heat distribution.
- Monitor and Ventilate: Bake for approximately 2.5 to 3.5 hours. Check dryness after about 1.5 hours. If you notice any browning or if your oven runs hot, crack the oven door open slightly (you can use a wooden spoon to prop it open) to allow moisture to escape and prevent the ginger from cooking rather than drying.
- Check for Crispness: The drying time can vary significantly based on ginger thickness and your oven's efficiency. Continue drying until the chips are completely dry, crisp, and snap easily when bent.
Drying Method 2: The Dehydrator Advantage
A food dehydrator offers a more controlled and energy-efficient way to achieve perfectly crispy ginger chips.
- Arrange on Trays: Lay the ginger slices in a single layer on your dehydrator trays. Ensure good spacing for optimal airflow.
- Set Temperature and Time: Dehydrate at 40ºC (105ºF) for about 4-6 hours. Again, thickness and humidity can influence the drying time.
- Consistent Drying: Dehydrators are excellent for maintaining a stable, low temperature, which helps preserve nutrients and results in consistently dried chips.
- Check for Crispness: Begin checking the chips after 3-4 hours. They are ready when they are brittle, completely dry, and snap with a satisfying crunch.
Achieving the Perfect Crispness
Regardless of the method, the ultimate test for dryness is the "snap test." A perfectly dried ginger chip will snap cleanly in half without any bend or chewiness. If there's any flexibility, it needs more drying time. Undried chips will not store well and can become moldy.
Creative Ways to Enjoy Your Homemade Ginger Chips
Now that you've mastered how to make crispy ginger chips, it's time to unleash their culinary potential! These versatile treats go far beyond simple snacking.
- A Healthier Snack: Ditch the processed chips and grab a handful of these naturally sweet and spicy ginger chips for a guilt-free energy boost. They're incredibly satisfying and offer a wonderful alternative to sugary treats.
- Elegant Garnish: Sprinkle whole or lightly crushed chips over soups (like pumpkin or carrot ginger soup), stir-fries, curries, or even roasted vegetables. They add a sophisticated texture and burst of flavor.
- Baking & Desserts: Chop them finely and fold into cookie dough, muffin batter, or sprinkle over ice cream, puddings, or fruit tarts. The caramelized, spicy notes are a delightful surprise.
- Breakfast Booster: Add a crunch to your morning yogurt, oatmeal, or granola. The ginger's warmth can be a lovely way to start your day.
- Homemade Ground Ginger: For the freshest possible ground ginger, simply pulverize your dried ginger chips in a spice grinder or a high-speed blender. You'll be amazed at the intensity of the flavor compared to store-bought versions.
- Teas and Infusions: Steep a few chips in hot water with a slice of lemon for an instant, soothing ginger tea.
Considering their various uses, these chips prove that making DIY Crispy Ginger Chips: Dehydrated Snack or Fried Garnish? offers far more creative possibilities than you might initially imagine.
Conclusion
Mastering how to make crispy ginger chips at home opens up a world of healthy snacking and culinary creativity. With just a few simple steps and either your oven or a dehydrator, you can transform fresh ginger root into a truly addictive, naturally sweetened, and wonderfully textured treat. Free from unhealthy oils and excessive sugars, these homemade chips offer a potent dose of ginger's beneficial properties in a delightful format. So go ahead, experiment with flavors, perfect your slicing technique, and get ready to fall in love with your new favorite, versatile kitchen staple. Happy crunching!
